Guide
From flat lay to on-model photo with AI, step by step
By The AURA Studio team. Published .
To turn a flat lay into an on-model photo with AI, give a generator three things: a clean photo of the whole garment, a reference photo of the model, and the framing you need. It redraws the garment on the person rather than pasting it, so check every result against the real piece for colour, print, length, volume and hardware, and fix misses by changing the input.
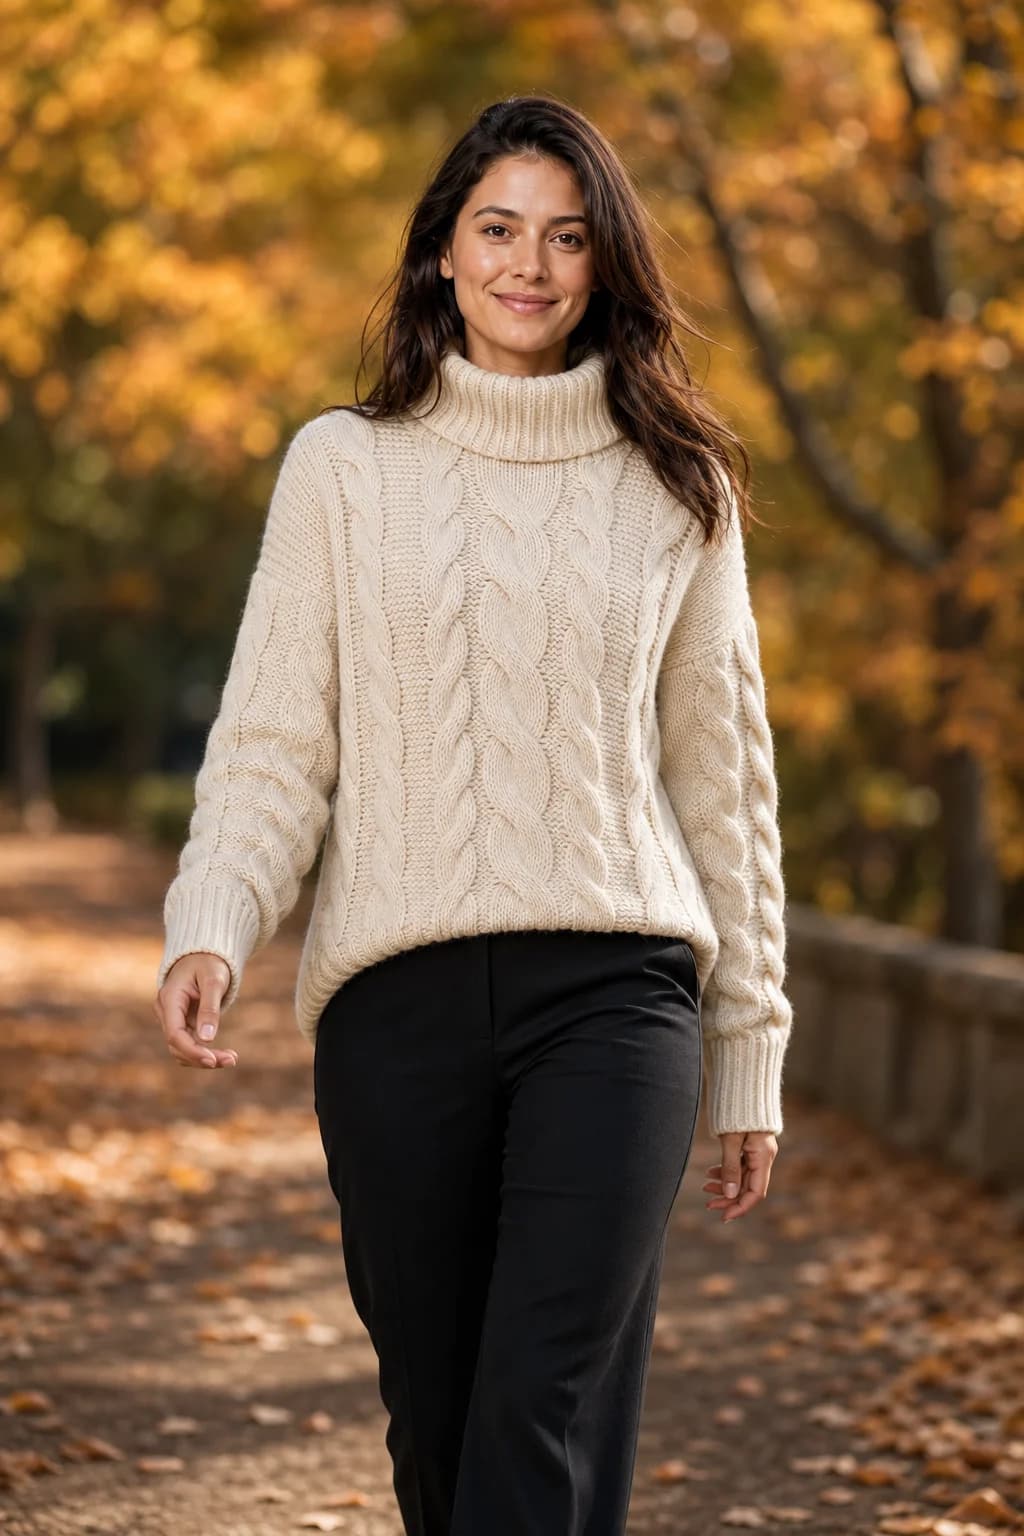
What the AI does with your flat lay
A generator does not cut your garment out and lay it over a person. It reads the photo for cut, colour, print, texture and hardware, then draws the garment again on a body, in the pose, light and framing you asked for. Every part of the result comes from one of four places, and the last one is where most surprises start.
| Part of the photo | Comes from | What that means |
|---|---|---|
| Colour, print, cut, closures, hardware | Your garment photo | As good as the photo: anything blurred, folded under or cropped is guessed |
| Face, hair, skin tone, build | The model reference | One clear full-length reference keeps the same person across a catalog |
| Pose, scene, light, framing | Your choices | Framing decides what you can check: a waist-up crop hides the hem |
| Shoes, what is under a jacket, the garment's back, how the fabric falls | The reference photo, or the generator's guess | Supply it, choose it through the reference, or accept that it is invented |
A flat lay leaves one more gap: it shows the garment with no body inside it. Where the hem lands on a leg, how full a sleeve hangs and how a skirt moves all have to be inferred. Hanger and ghost mannequin photos carry a little more of that shape. How to shoot the input is covered in our guide to photographing a garment for AI; this guide starts where that one ends.
Three garments, from product image to photo
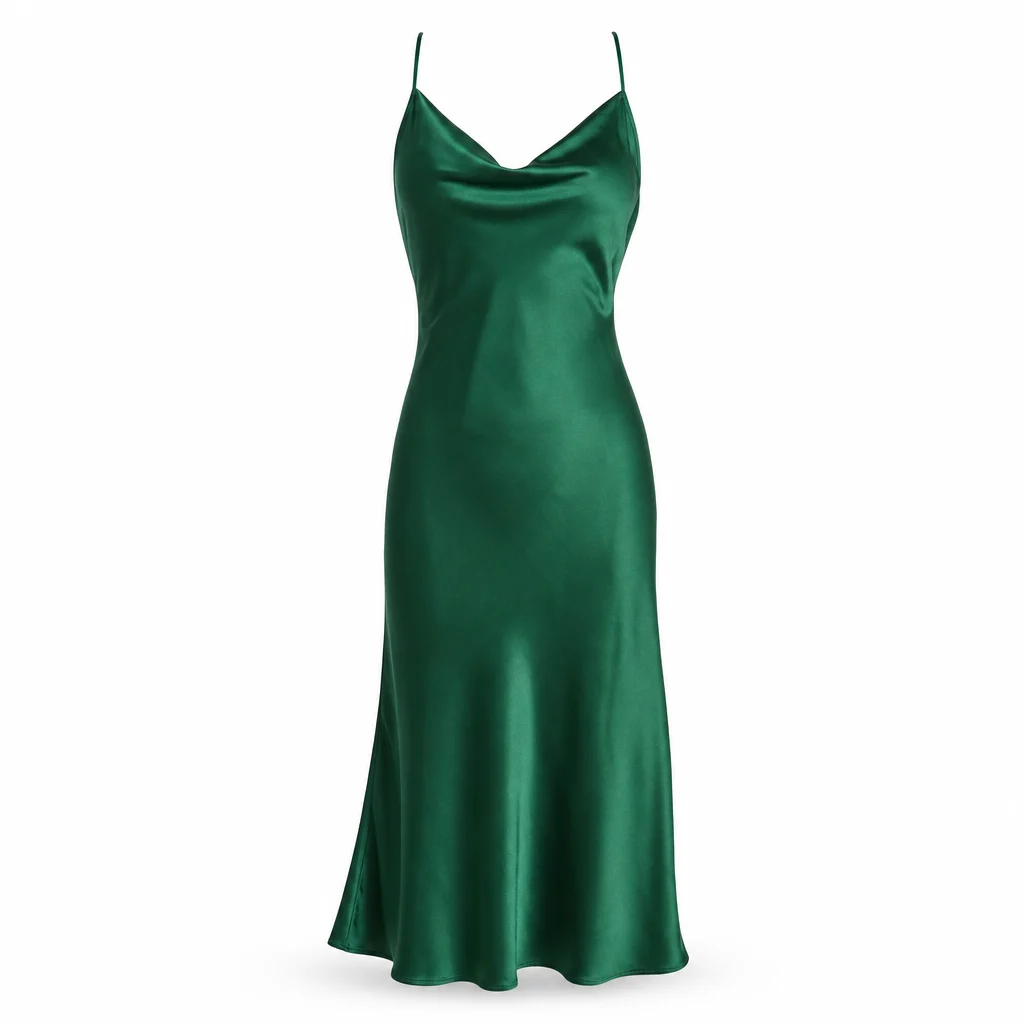
Each of these used one product image, one model reference and a short description of the garment, nothing else. None was retouched.
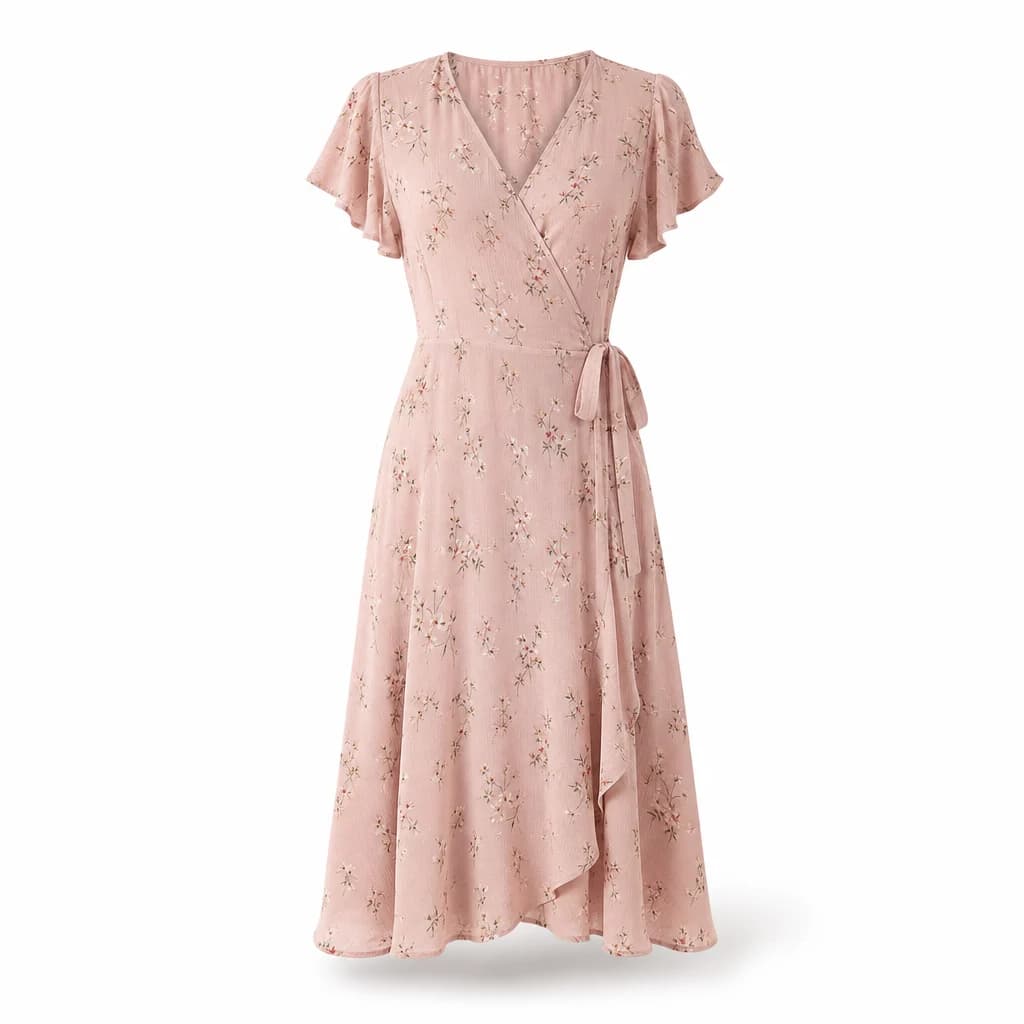
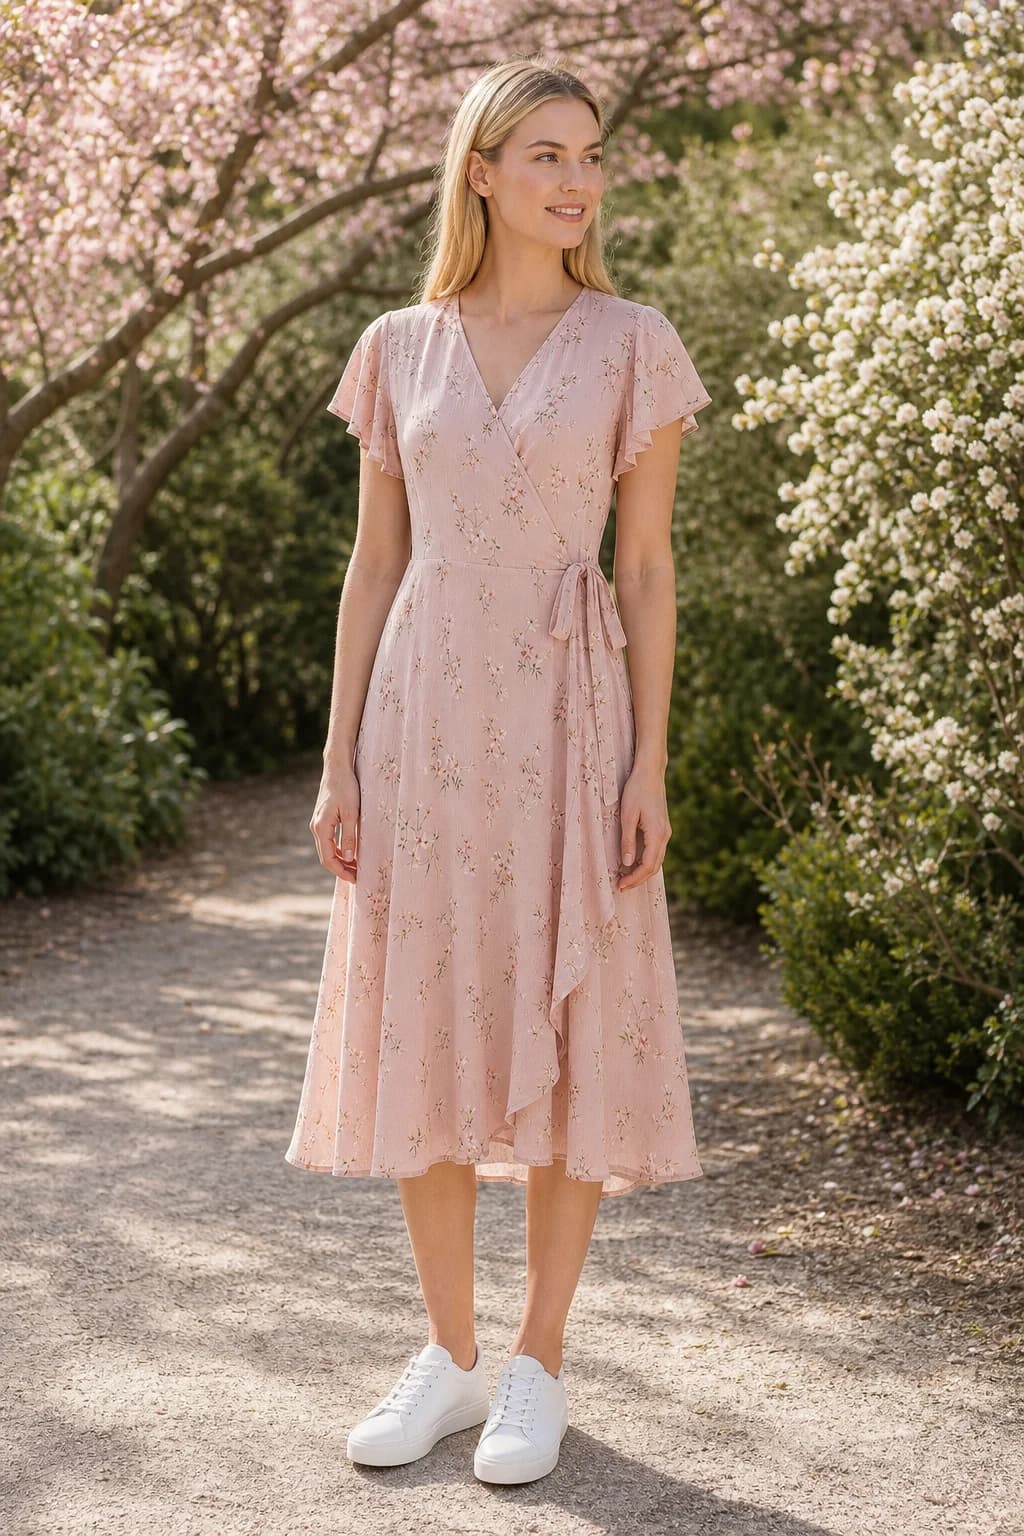
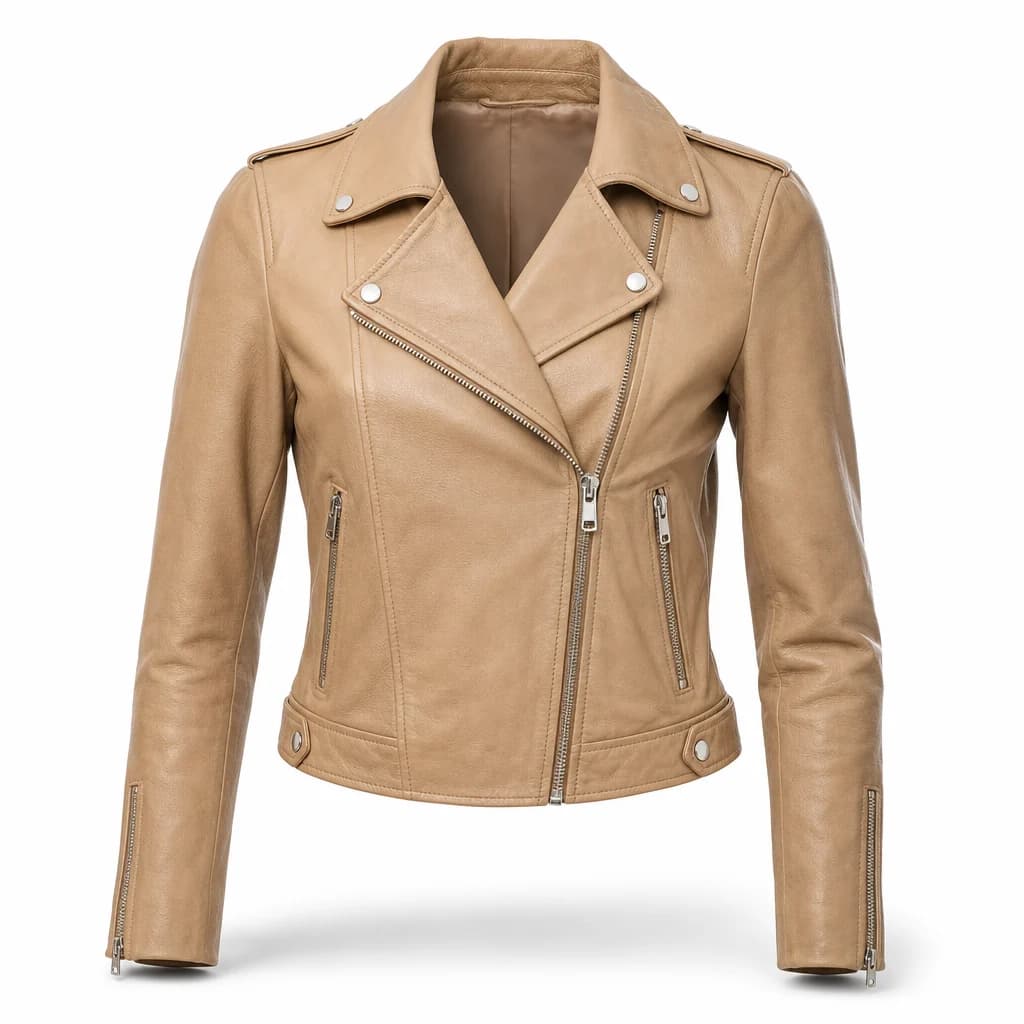
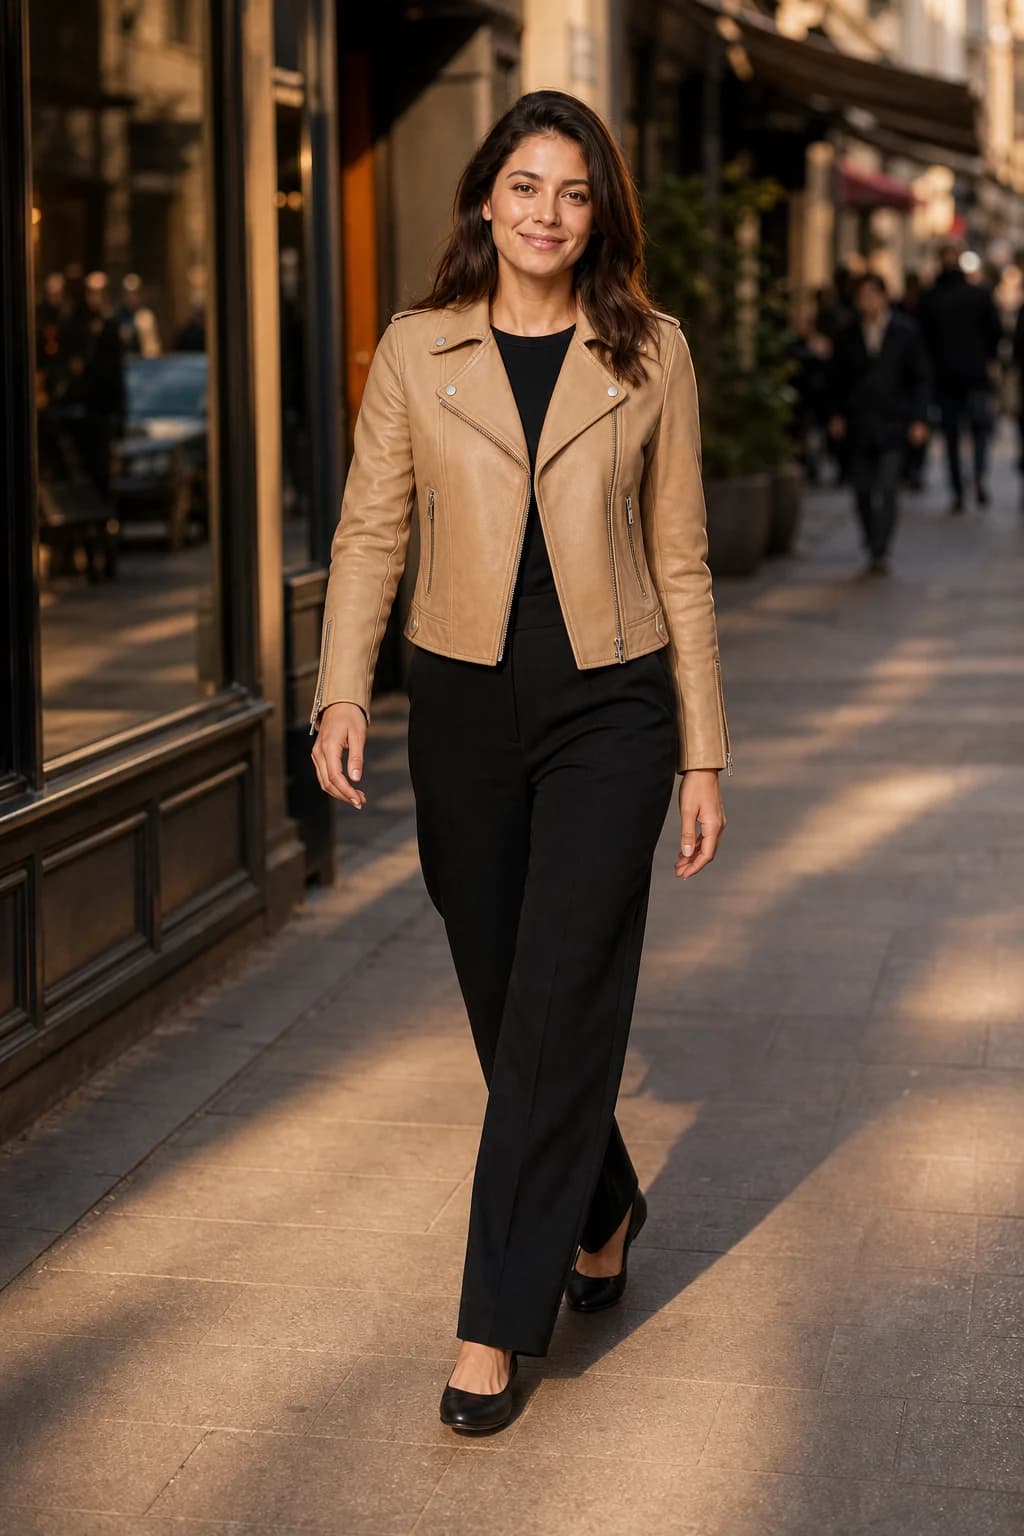
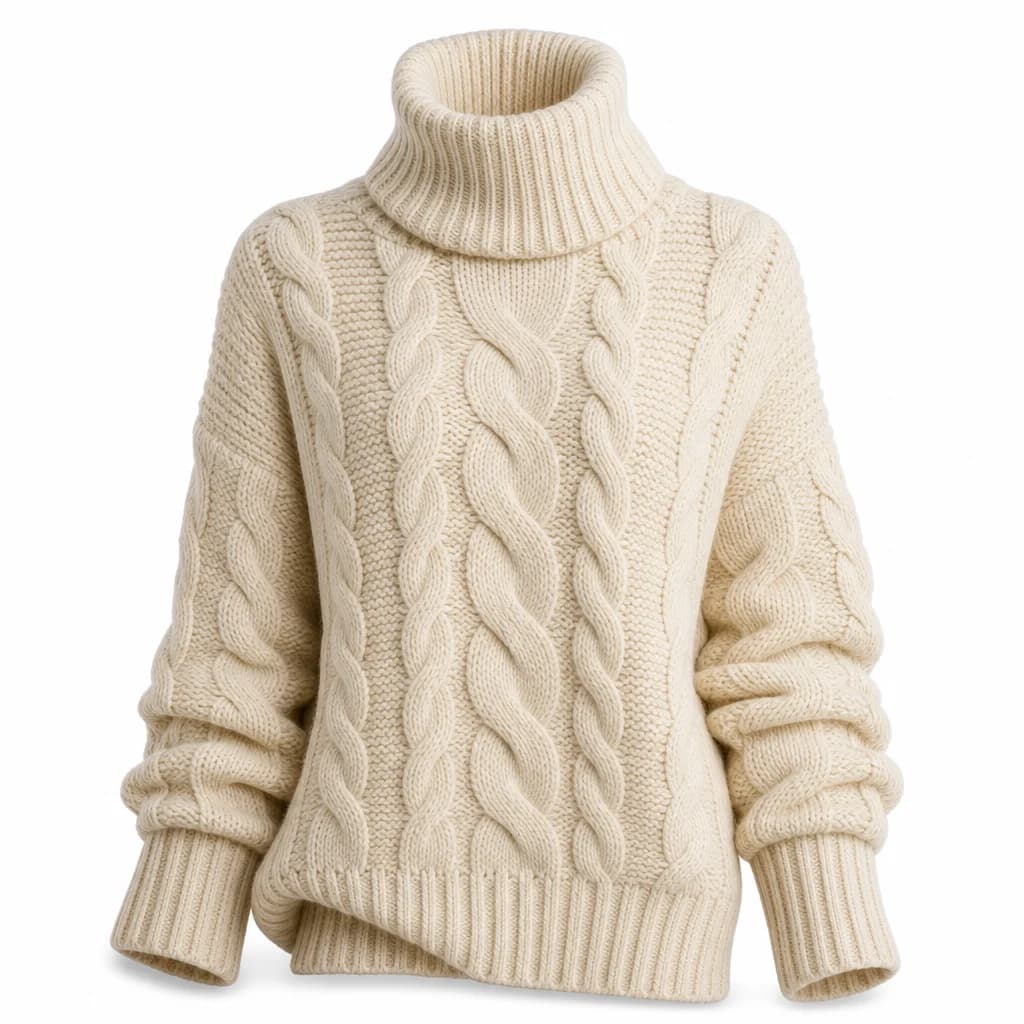
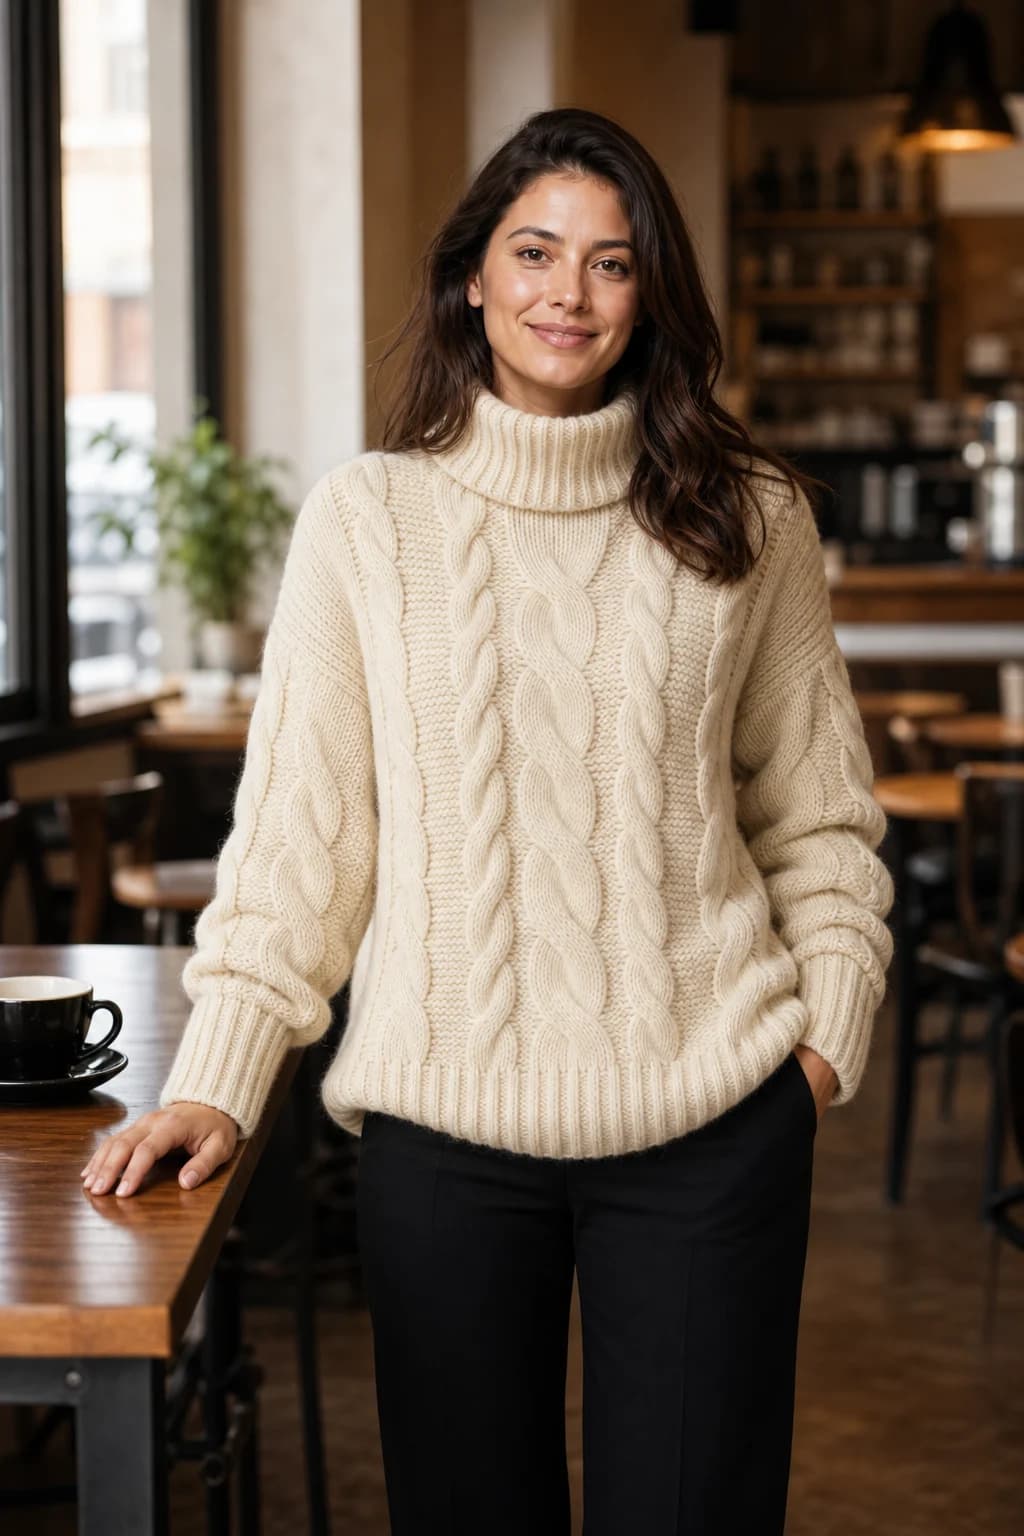
How these were made: the product images are catalog-style shots on white that we generated for our demo set, styled like ghost mannequin photos. They are not phone flat lays of real stock, and inputs this clean are the best case. A phone flat lay leaves the generator more to infer, which makes the checks below matter more, not less.
Step by step
Photograph the whole garment
A flat lay, hanger shot or ghost mannequin photo, straight on, in even daylight, with nothing folded under. Our garment photography guide has the method. If your tool takes extra images, add a close-up of any print or hardware.
Decide what else the model wears
Your photo covers one piece. Everything else comes from the model reference or the generator's guess. Either upload the other pieces, where the tool takes several images, or dress the reference in the trousers and shoes you want to see.
Choose the model once
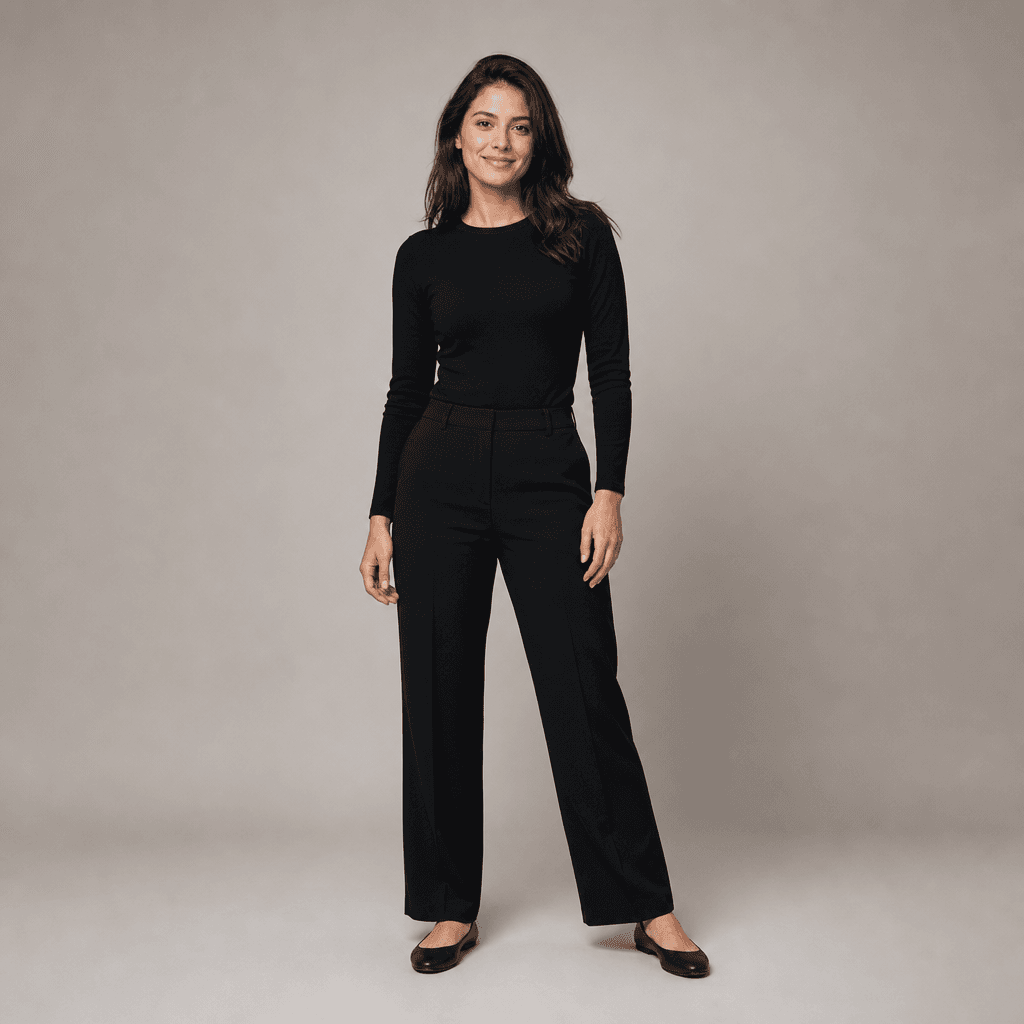
Use the same reference for every garment so the catalog shows one person. Our guide to keeping one model across photos explains how, and why a real person's photo needs their written consent.
Frame for the garment
Full length for dresses, coats and trousers, so the hem is on view. Waist up for tops. A close crop for texture. A crop that hides the hem also hides a miss you need to see.
Make several, keep the best
Vary the pose or the scene and generate a handful. Most tools charge for every attempt, so count the photos you would actually post, not the attempts.
Check each one against the real piece
Side by side, at full size, with the checklist below. Compare with the garment itself, not only with the flat lay, because the flat lay may already be off in colour.
Fix the input, then regenerate
Retrying the same inputs gives you a different result, not necessarily a more faithful one. A drifting print needs a sharper photo or a close-up; a wrong colour needs daylight; wrong shoes need a different reference.
Size it and label it
Export at the size of the placement; our Instagram and TikTok sizes guide has the numbers. If you sell in the EU, read our guide to labelling AI fashion photos before you publish.
What to check before you post
| Check | How it goes wrong | Fix |
|---|---|---|
| Colour | Shifts with the scene's light: a sunset warms the fabric too | Compare with the garment in daylight; use neutral light for the product page shot |
| Print and pattern | Motifs change scale or repeat, or drift into a similar print | A sharper, straight-on input and a close-up of the pattern |
| Length | The hem lands longer or shorter on the body than on the real piece | A full-length shot, compared with the measured length |
| Volume | Full sleeves, skirts or collars come out flatter or fuller | A hanger or worn photo, and a pose that shows the feature |
| Closures and hardware | Buttons, zips and plackets move or change in number | Count them against the garment |
| Logos and printed text | Letters change shape or spelling | Read them letter by letter, or add text as a separate layer after generation |
| What you did not supply | Shoes, undershirts or trousers that do not suit the piece | Supply them, or change the reference |
| The person | The face drifts from the reference, or the hands look wrong | Regenerate; a clearer reference photo helps the face |
Four misses from our own output, and what fixes them
These came out of the same pipeline as the examples above, from the same kind of inputs. None was retouched. Each one is a miss you would catch with the checklist, and each traces back to something the inputs did not show.
The hem came out longer. The emerald slip dress is a midi, and its description said so in words: "midi length" was one of the tags sent with it. Both results put the hem at the ankle or below. The product image never shows where the hem sits on a leg, so the generator decided, and the written tag did not overrule it.
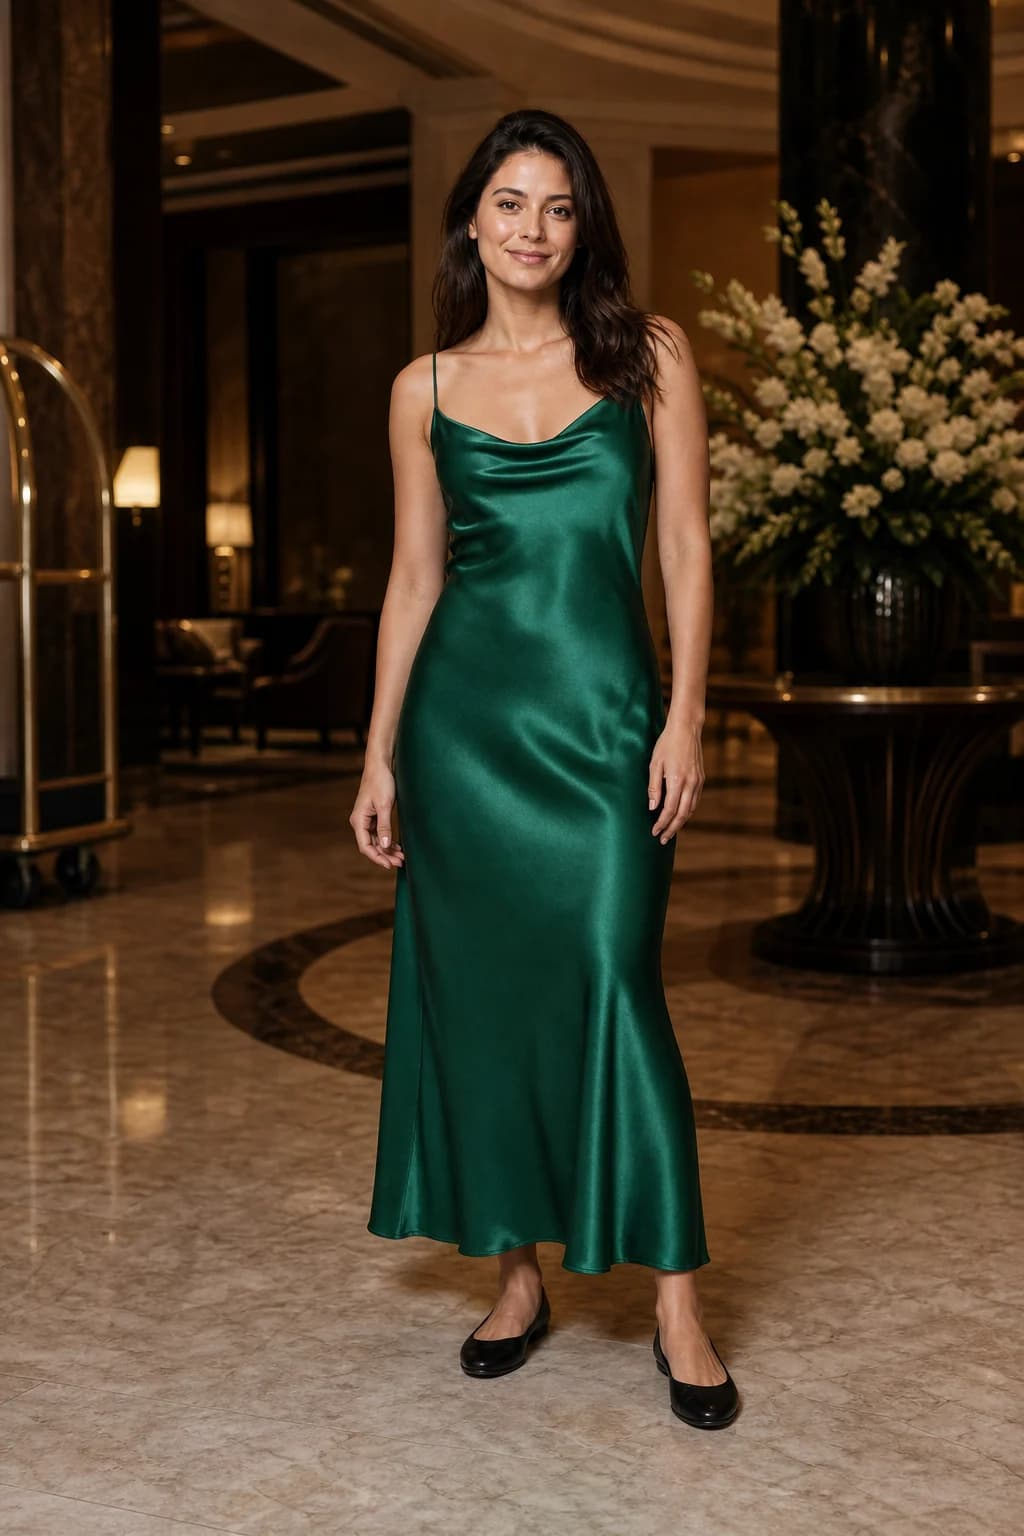
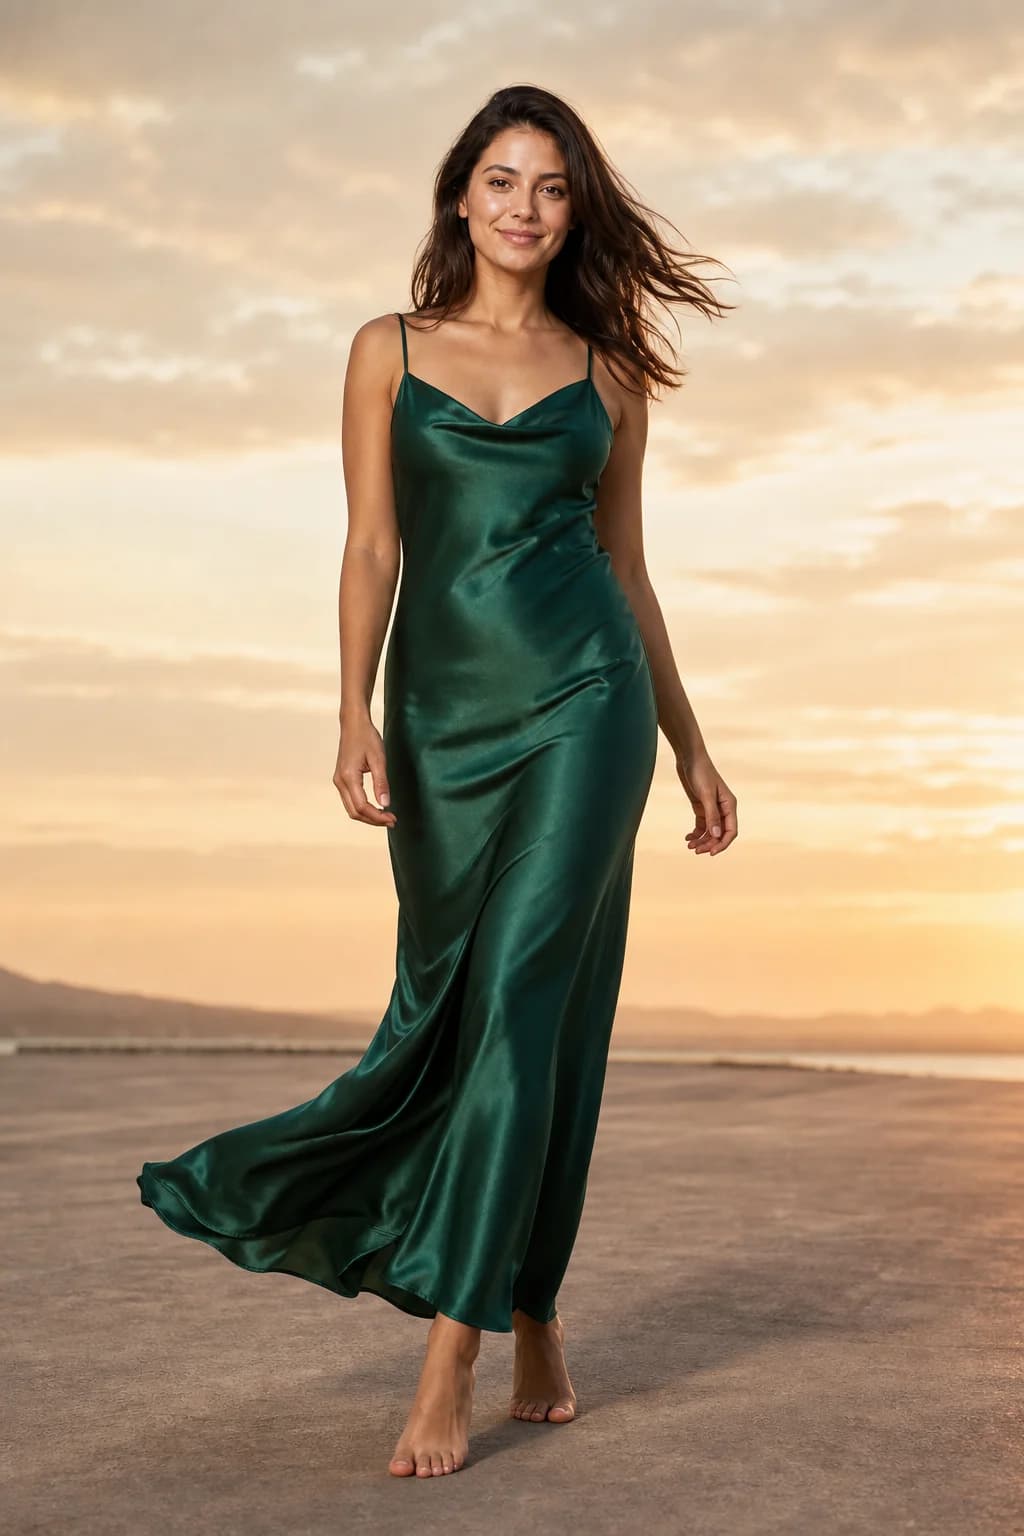
The fix: judge length on a full-length shot against the measured garment, and put the length in the product copy. If no result is close, do not use that shot to sell the fit.
The undershirt changed. The navy suit was supplied as a jacket and trousers with nothing underneath. In the boutique shot the model wears the grey T-shirt from his reference photo. In the night shot, from the same inputs with a different scene, he wears a dark one.
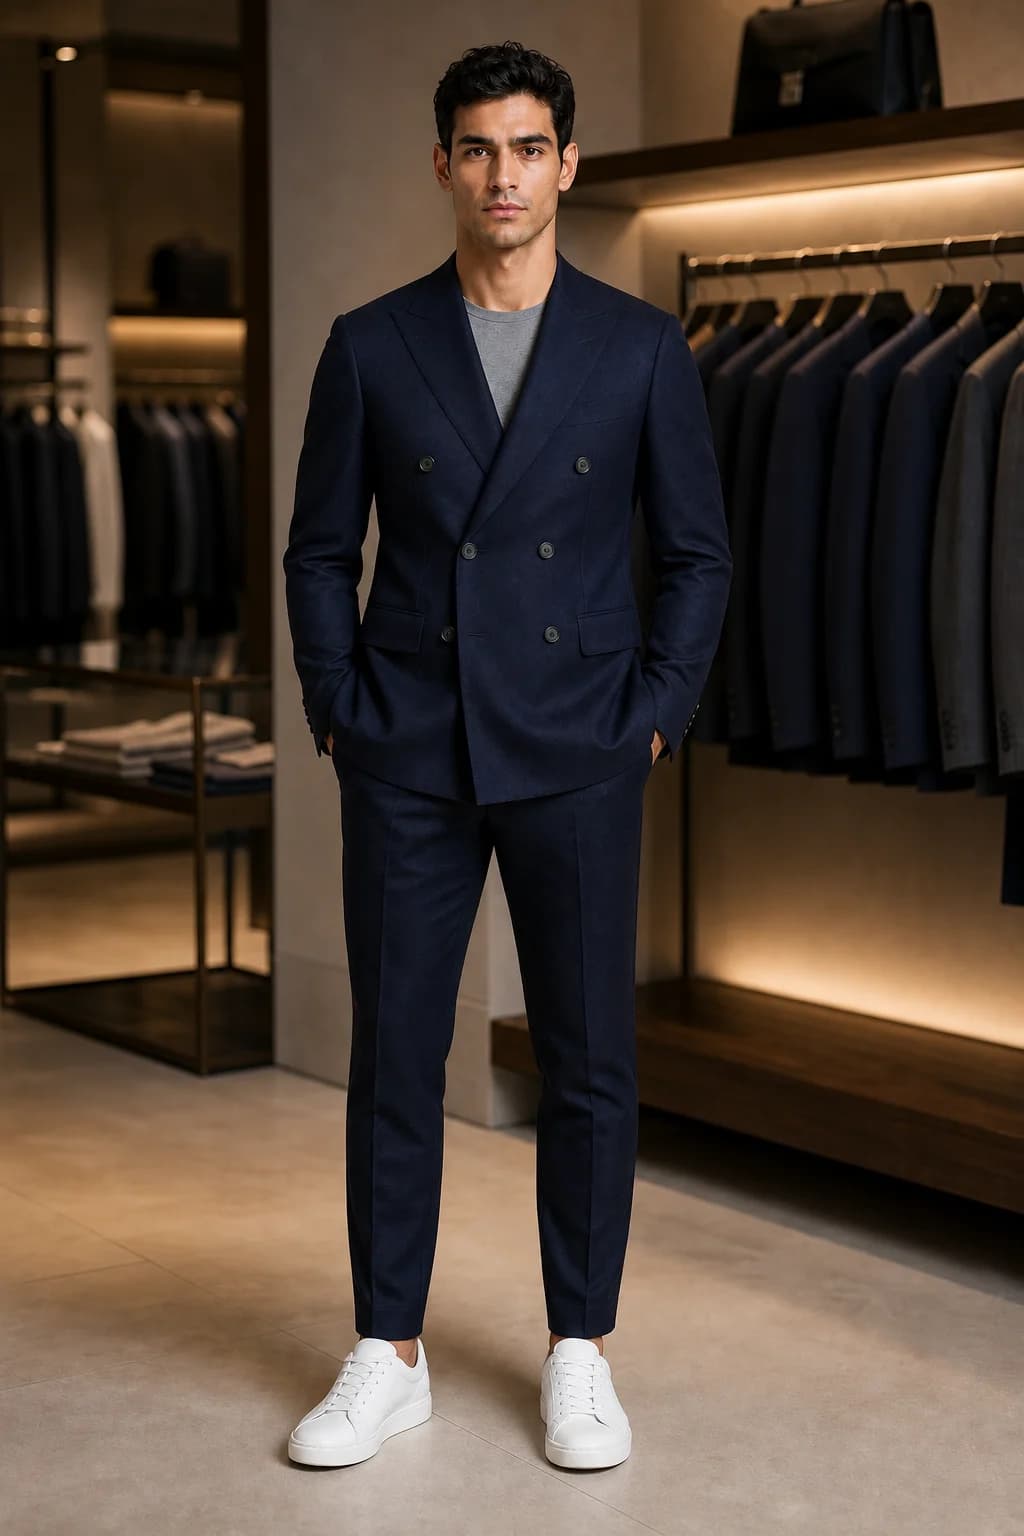
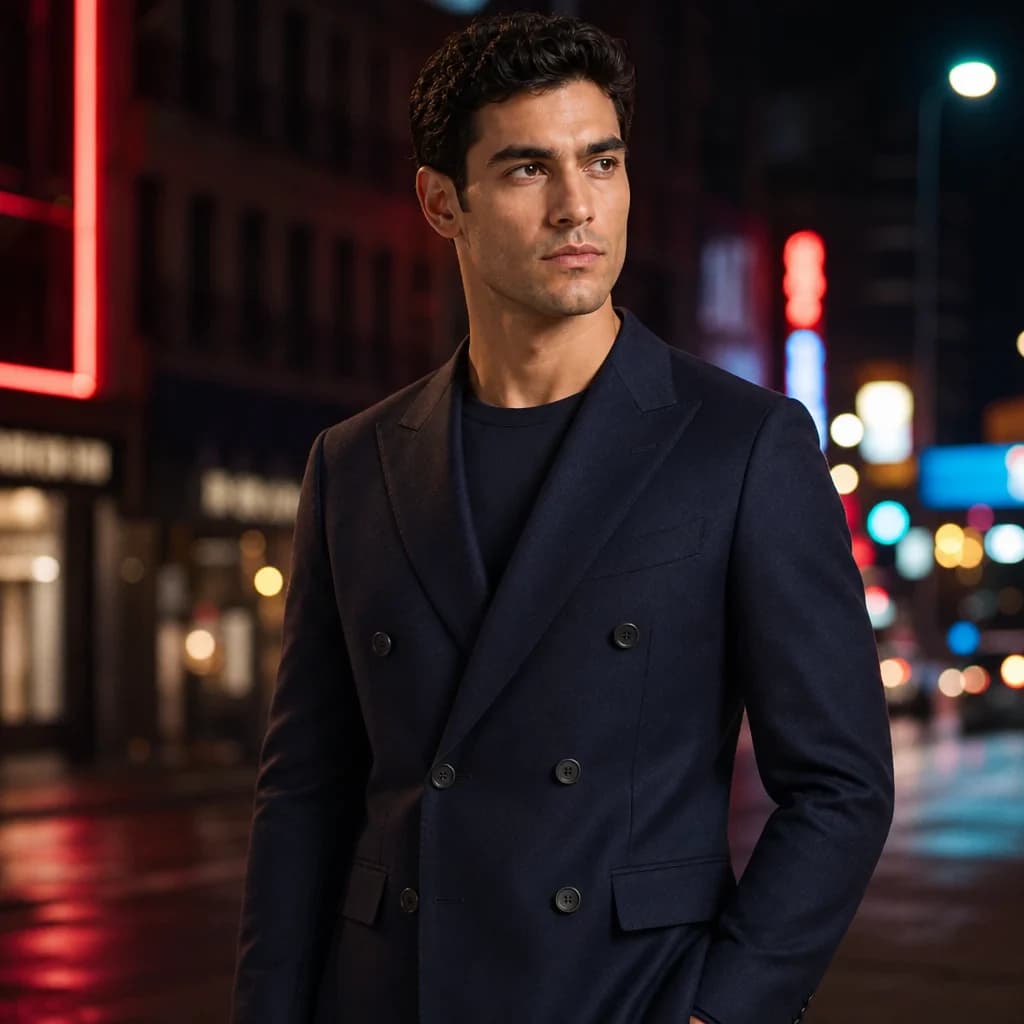
The fix: anything that must stay the same across a set has to be in an input. Shoot the reference in the shirt you want, or supply the shirt in a tool that takes several garment images.
The sleeves lost volume. The terracotta blouse has full sleeves gathered into deep cuffs. On the model they read slimmer, partly because the crossed-arms pose presses them against the body.
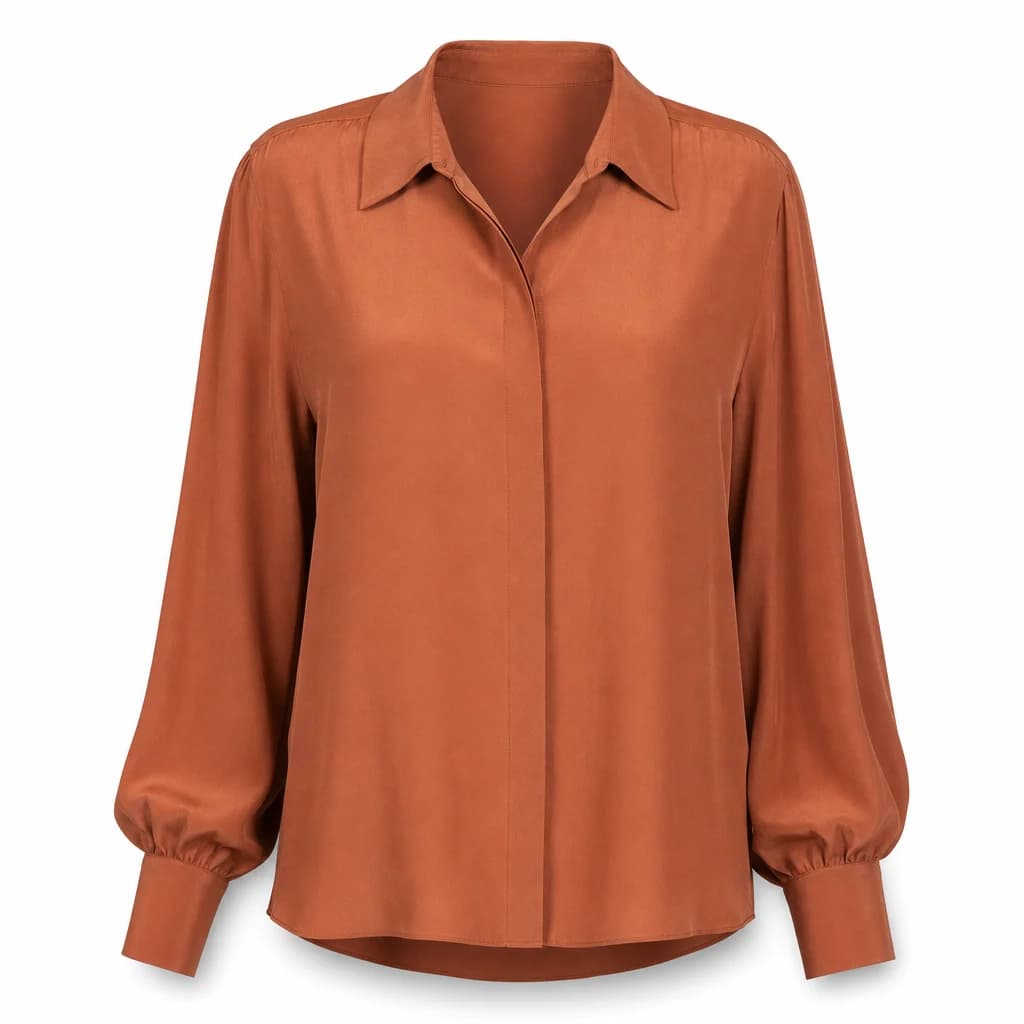
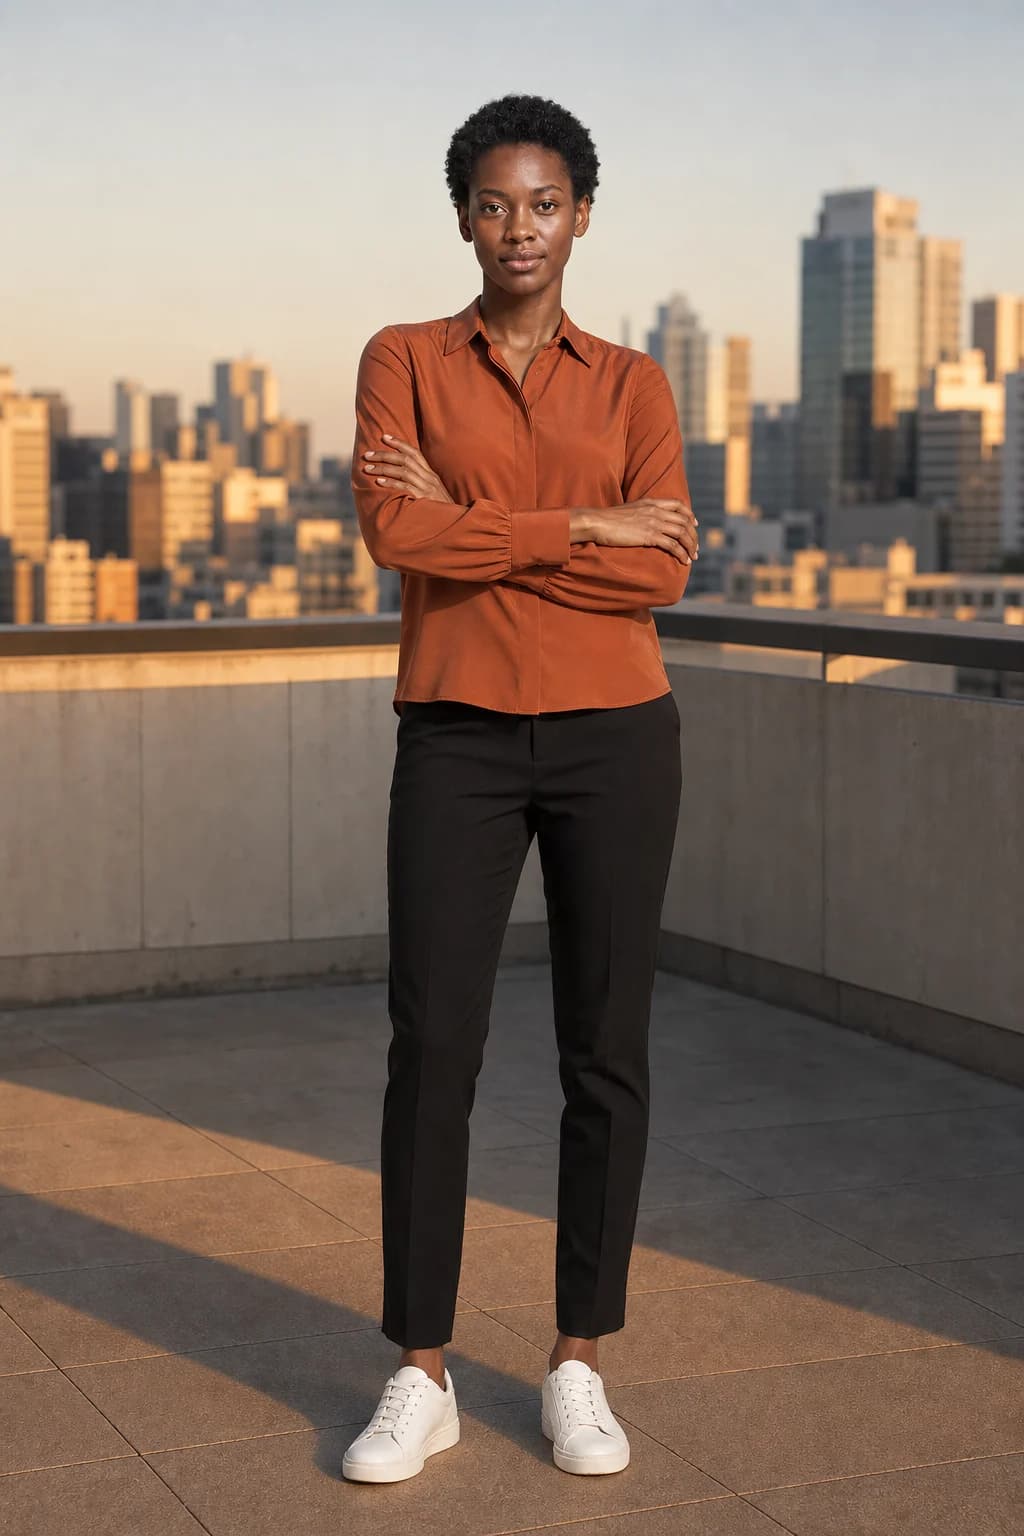
The fix: choose a pose that shows the feature that sells the piece, arms relaxed for sleeves and walking for a skirt. A hanger or worn photo also tells the generator more about volume than a flat surface can.
The shoes came from the reference. A charcoal wool overcoat on a snowy road, worn with white trainers. Nobody chose the trainers: they are in the model's reference photo, and the coat was the only garment supplied. It is the same lesson as the T-shirt, and our consistent-model guide shows it with a suit.
In a general AI model or a fashion tool
General image models can do this. Attach the garment photo and a model photo, ask for the garment on that person, and say what else they should wear. Google's documentation says its image models can mix up to 14 reference images in one request, depending on the model, so a whole outfit can go in at once (Gemini API docs). The cost is repetition: you re-attach the references, restate the instruction and re-check the result for every image. Our comparison with ChatGPT and Gemini covers where that stops paying off.
Fashion tools store the model and fix the output sizes for you, and they differ in what they take as input. Here is what five of them say on their own pages, next to ours:
- Claid
- Flat lays and ghost mannequins "work best" and hanger shots "work well"; complementary items can be added to style a full outfit
- Nightjar
- A flat lay, hanger shot or ghost mannequin photo, or a product link; close-ups of prints, trims and hardware can be added
- Photoroom
- One clothing photo, or several clothing and accessory images to build a complete outfit
- Veeton
- Recommends ghost mannequin or flat lay photos; phone photos work if the garment is fully visible
- WearView
- Any clothing photo: flat lay, hanger, or on a person
- AURA Studio (us)
- One garment image per photo, as PNG, JPEG, WebP or AVIF up to 12 MB; everything else comes from the model reference
Checked on Claid, Nightjar, Photoroom help, Veeton, WearView, AURA.
AURA's one-garment limit is the catch to know about: a top and trousers only go together if they are in the same picture, so the reference photo does more work. For prices, video and the catch with each tool, see the best AI fashion photography tools in 2026. To run this workflow on your own garments, start a free week: it covers 10 photos and one video, with no card.
When a flat lay is not enough
- Sheer, sequinned and high-shine fabrics, which change with the light on them and behind them. Our garment guide covers what to add for the hard cases.
- Fit claims. An on-model photo shows a plausible fit on one body, not a measured one. Size charts and measurements stay the source of truth.
- Campaign images. When one picture has to carry a season, a shoot still makes the better image; our breakdown of what a shoot costs shows where the two meet.
Questions
- Can AI put my clothes on a model from a flat lay?
- Yes. A generator reads the garment from your photo and draws it on a model from a reference photo, in the pose and scene you choose. The result is a new drawing of the garment, so check colour, print, length and hardware against the real piece before you post.
- Is a flat lay or a ghost mannequin photo better?
- Both work: Claid and Veeton, for example, recommend either. A ghost mannequin or hanger photo shows some of the garment's shape, which a flat lay cannot, so for pieces that sell on drape or volume it gives the generator more to go on.
- Why is the hem length wrong on the AI model?
- Because a flat lay does not show where the hem sits on a body, so the generator decides. In our own output a dress described as midi came out ankle length. Judge length on full-length shots against the measured garment.
- Why is the model wearing shoes I did not choose?
- Anything you do not supply comes from the model reference or the generator's guess. Dress the reference in the shoes and trousers you want, or supply them as images if your tool accepts several.
- Can I do this in ChatGPT or Gemini?
- Yes. Attach the garment and a model photo and describe the shot. It works well for a few images; for a weekly catalog the cost is re-attaching the references and re-checking the face and the garment on every image.
- Do I have to say the photo is AI-generated?
- It depends on where you sell and on each platform's rules. Our guide to labelling AI fashion photos in the EU covers the AI Act's transparency rules and how to decide image by image.